Just like the air filter in your car, or the particulate filter in your A/C system at home, you also need to change the water filters in your whole home water filtration system. But when? How Often To Change? The answers depend on what kind of filtration system you own, and specifically what kind of water is it filtering.

Usually if your system is filtering municipal water, you can go longer than if you’re filtering well water or water that comes from somewhere else on or near your property. The other thing you need to check is how many replaceable filters does your system even have? Many systems have one filter that will need to changed, but a lot of newer and more advanced systems have two or three, sometimes even more.
Finally, and it almost goes without saying, but you should have an instructional manual or owners’ manual that came with the system when you bought it or had it installed. At the very least, it should be marked on the hardware (usually on the filter housings themselves) when to change your equipment out with something new. Above all other directives, follow what your manufacturer says to do.

Now, to go deeper into the game of How Often To Change water filter replacement:
water filter replacement Method
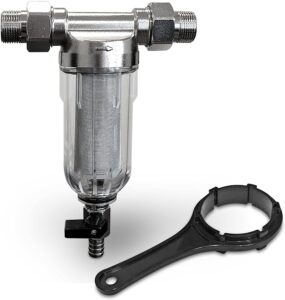
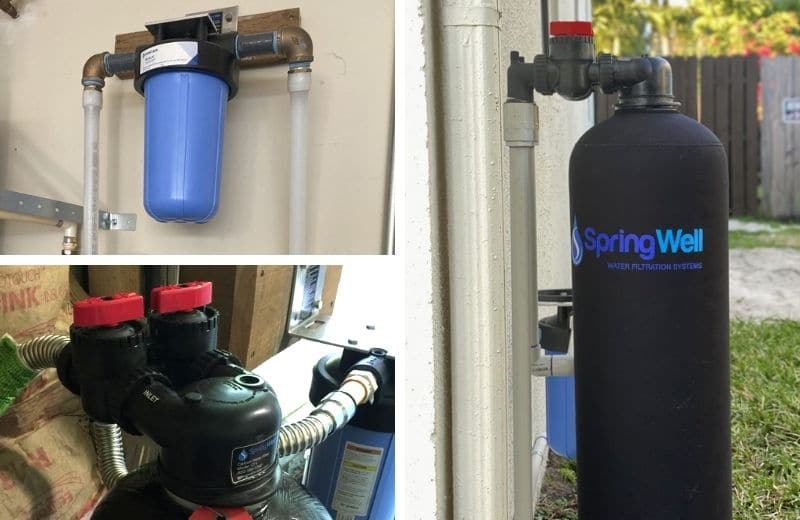
First, as we mentioned before, you’ll have to see whether your filter cleans well water or municipal water, and you’ll have to figure out where the filters are in your system. Usually they’re easy to find; they’re generally separate from the main filtration tanks in their own little units.
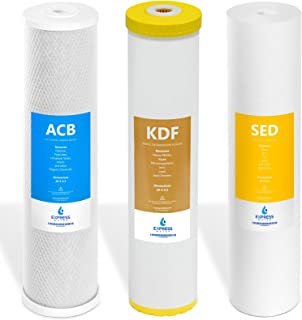
Usually you should change your sediment pre-filter every three to six months.

Once you procure replacement filters, it’s time to make the change. Go down to the basement or your shed/wherever your filtration system is. There should be a system of levers on the pipes.
If you’re lucky, there might even be a pressure gauge or two. Your mission here is first to relieve the pressure on the system. Otherwise when you open up the filter housing things will get messy rather quickly.
As we said earlier there should be a system of levers in place; make sure to consult your owner’s manual to figure out which ones you need to move in order to relieve the pressure on the system.
Once you do that, you may or may not have to open up a spigot and let out some of the excess water between the closed levers and the open lever. If so, you may want to have a 5 gallon bucket or a milk jug handy to catch the excess.
Now that it’s (hopefully) OK to access the filter housing, open it up. If things don’t get extremely wet and messy at this point, it means you’re doing things correctly. Now that it’s open, you’ll have to take the filter and the interior housing outside, or possibly upstairs to the sink. Your mission right now is just to clean up the filter housing and put the new filter inside it, after of course removing the old one and trashing it.
The condition of the old filter and the filter housing give you a lot of clues about the overall heath and effectiveness of your system; if the filter is super dirty, you may want to consider changing it earlier. If it still looks brand-spanking new, maybe leave the old one in there a little longer. If the filter housing and the surrounding areas look dirty, try and clean them up.
Either way, it’s a good idea to clean the filter housing even if it looks decent with the naked eye. There should also be an O-ring or washer in there. That should be manually cleaned for sure. A trick is to take a clean 2 liter bottle, milk jug, or large sparkling water bottle and use it to help in the cleaning process. Once you replace the filter, you should clean the O-ring or washer as well.
Another good idea is to use food-grade silicone as a sealant for the O-ring or washer. Make sure it says ‘food-grade’ on your silicone packaging…introducing toxic or noxious chemicals to your water supply would be severely redundant at this point, and not in a good way.
Now just put everything back together. Some people use a little household bleach to sanitize the filter area. Others don’t because obviously this household bleach has a possibility of making your water taste like bleach as well.
Another trick is to wrap the filter units in black plastic bags, or wrap them up with duct tape or something similar. This is to inhibit light getting in there.

Conclusion
Especially if your filtration system is in a lighted or air-conditioned/heated area, it might help to keep light out of there/inhibit any algal or bacterial growth.
After that, just check your system periodically and enjoy having clean water in your home!